 Wansview Cloud Docs
FAQsUser ManualOutdoor Camera
W7 Quick Installation Guide
Setup, installation, indicator lights, and FAQ for the Wansview W7 2K outdoor security camera.
W7 Quick Installation Guide
Read this manual carefully and save it for future reference.
What's in the Box

- Camera
- Power Adapter
- Template Sticker
- Pack of Screws
Product Diagram
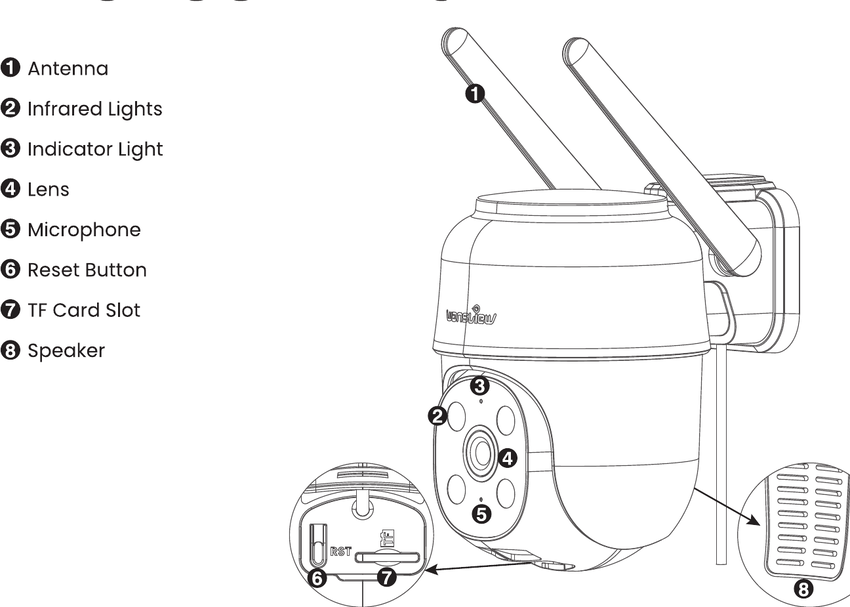
- Antenna
- Infrared Lights
- Indicator Light
- Lens
- Microphone
- Reset Button
- TF Card Slot
- Speaker
Setup
Download the Wansview Cloud app, create an account and then log in.
Connect the camera to a power outlet and wait for 20 seconds, or until the indicator light flashes red and blue alternately.
Open the Wansview Cloud app, tap the "+" or "Add device" button, find the W7 camera in the list, then follow the in-app instructions.
Indicator Lights Status
| Light Status | Camera Status |
|---|---|
| Solid red light | Camera powered-on |
| Flashing red and blue light | Camera ready for connection |
| Flashing blue light | Wi-Fi connection in progress |
| Solid blue light | Camera working properly |
| Flashing red light | Reset / firmware upgrade in progress |
Installation
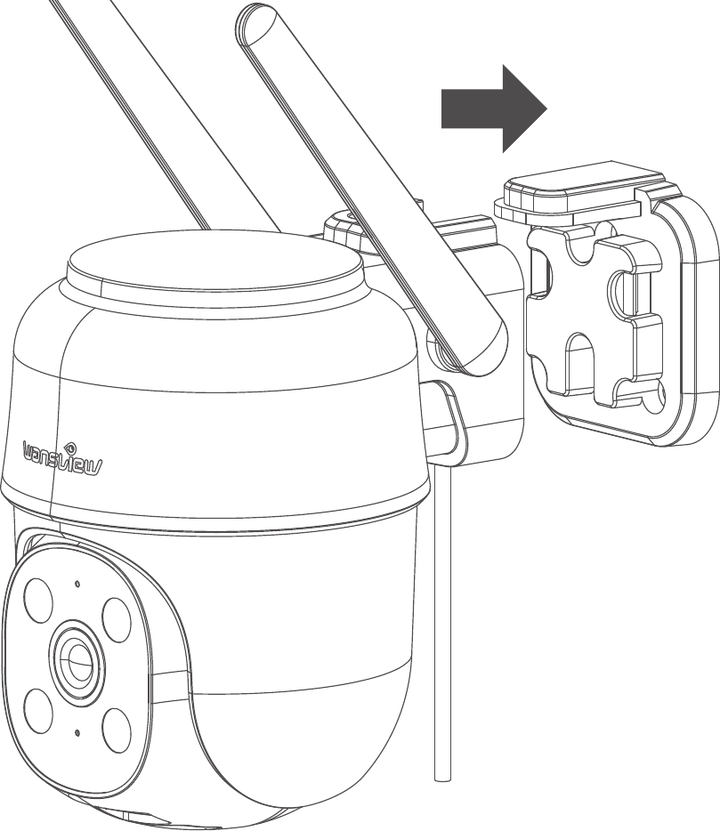
Remove the mounting bracket from the camera.
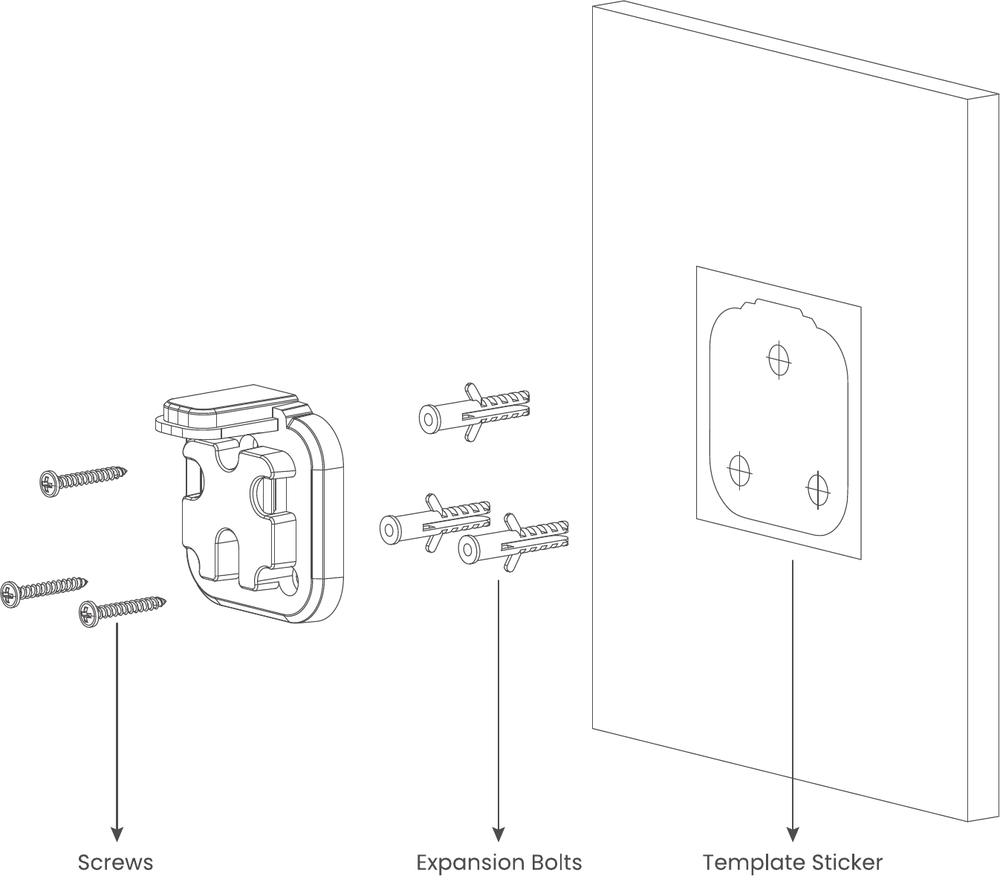
Drill several holes in the wall with the aid of the template sticker, then screw the mounting bracket on the wall.
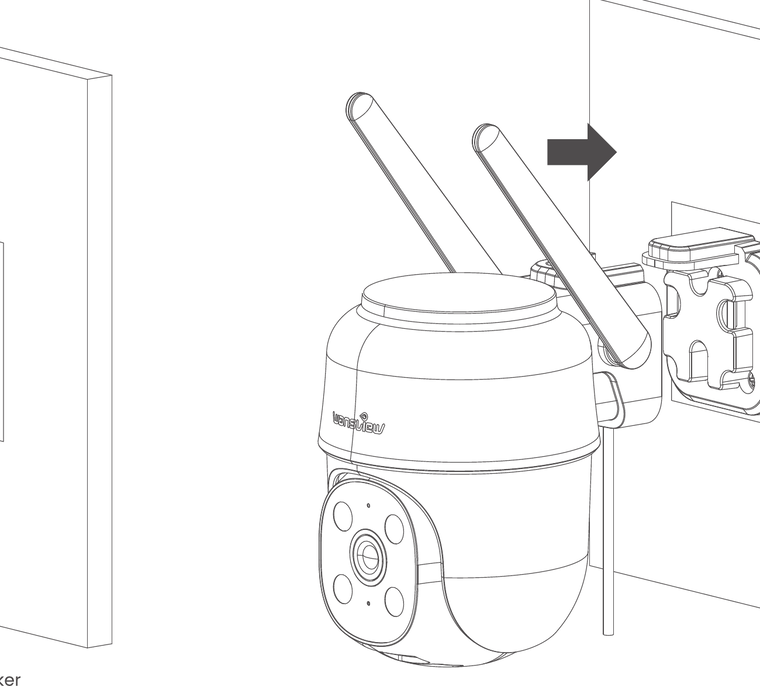
Reattach the camera to the wall mount.
FAQ
After-Service
- US / CA: [email protected]
- UK: [email protected]
- Phone: 1-323-686-3288 (US only)
Made in China.